When logging in from the Frontend, you will notice a dark navigation bar on top of your site's header.

Starting from left to right...
- Mura Logo: clicking this will collapse the Mura Toolbar. Once collapsed, clicking the smaller Mura logo, will expand it.
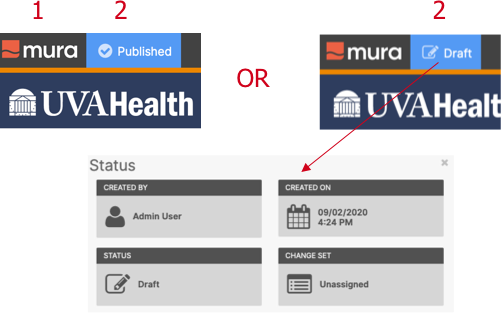
- Page Status: Mura has two (2) states - Draft and Published. Draft is a page that has never been published and content is unavailable while Published has been published making the content available online. Learn more about Publishing.
- Pencil Icon: when clicked expands a context menu with "Inline Edit", "Full Edit", and "Delete". This is how you will edit page content from the Frontend. Learn more about Frontend Editing.
- Plus Sign Icon: Add a new content type (e.g. page, file, link, video) to the section you are in. Note: you will need to take care in understanding the structure of your website and know where the item will be placed within the structure. For those who wish to visually add a new item via the backend which gives you a tree-like structure, use the tree icon noted below for #7.
- Counter Clockwise Icon: This will open the page's version history. Each time the page is published, Mura tracks changes made. Learn more about version history.
- Mobile Phone Icon: This will open in a window displaying mobile views for the page. In preview mode will give you the option to see the page scale from desktop, to tablet, to smartphone.
- Flowchart Icon: This will take you to the Backend Content Tree View of your site structure. Learn more about Backend Editing.
